
Travel
Hey welcome back, thanks for stopping by today. I have another home decor project to share and all this week on the blog I will have some more Xyron projects to share with you, at the end of this week everyone who comments here or on the Xyron FB posts for my projects will be in the draw to win a Xyron Adhesive pack worth $65 of a:
Don't forget to leave a comment on any of the posts this week and share with your friends
Good Luck
TRAVEL

Supplies
Black StazOn Ink
Foam Pads
Assembly
Dry assemble the frame, this helps you visualize and decide where your cover papers will go.

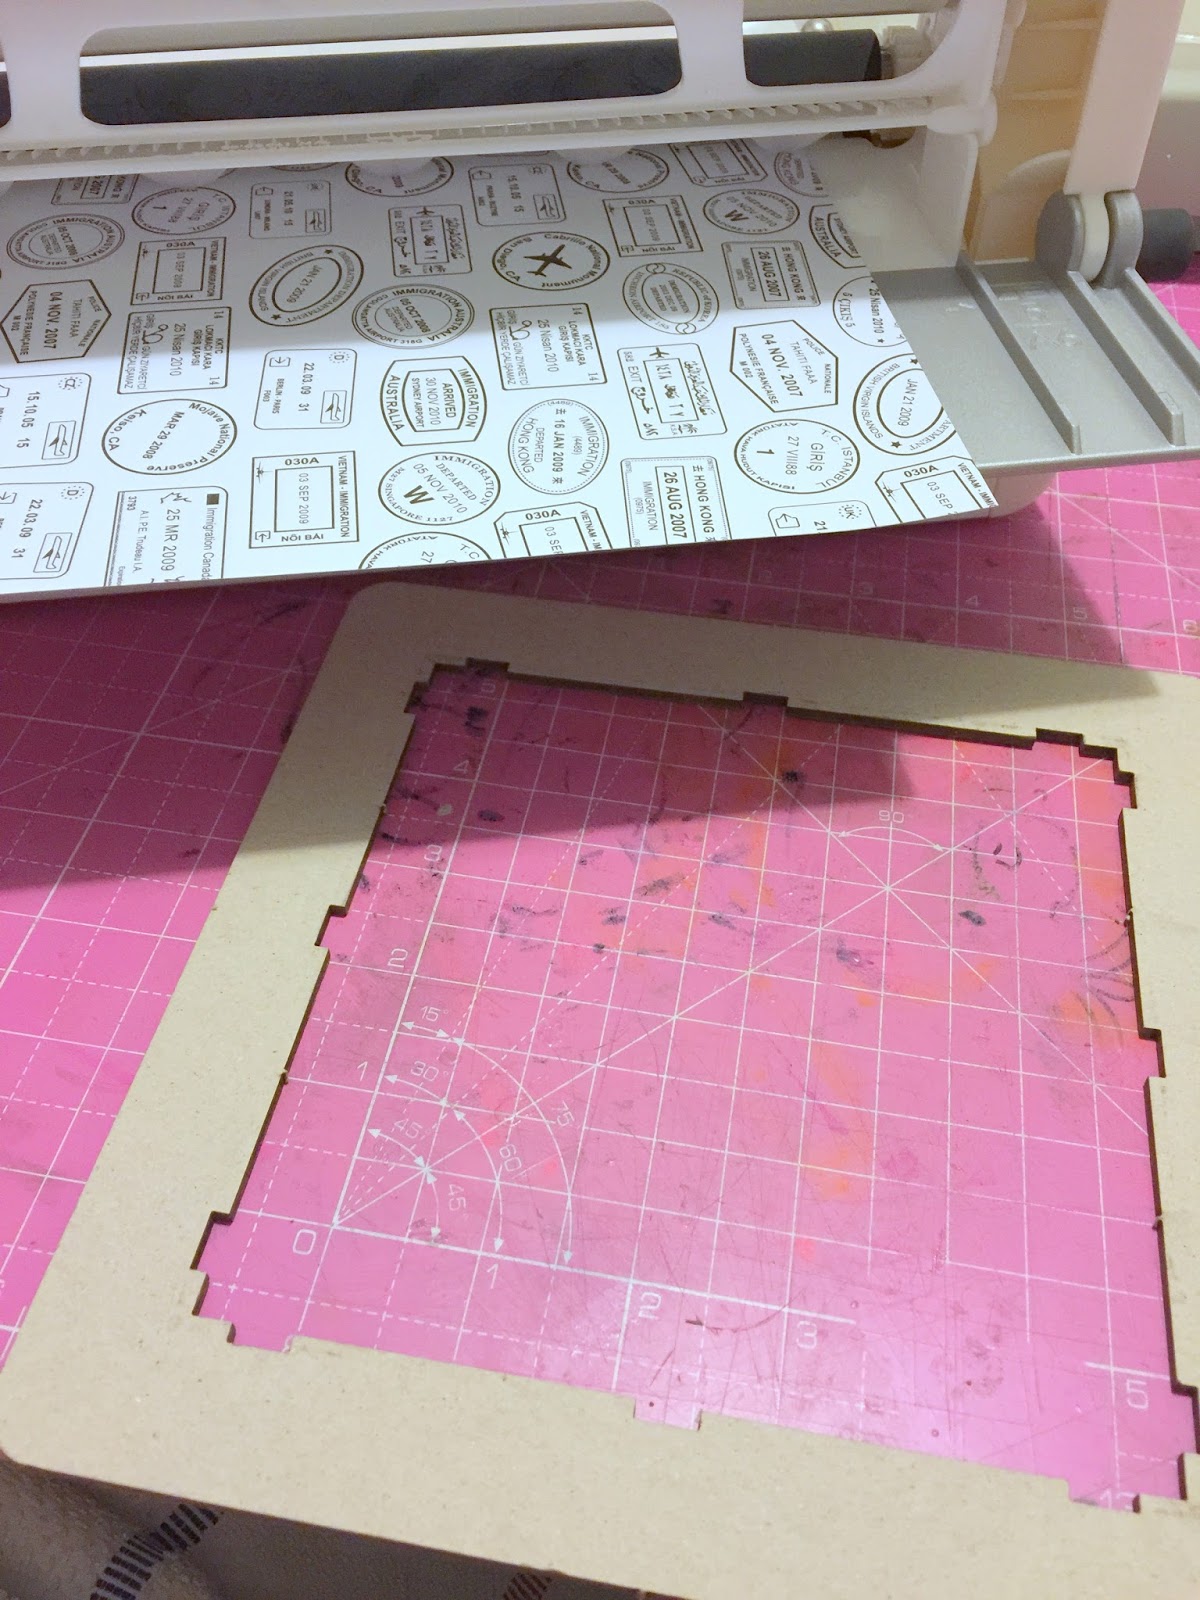
Measure the inside of the box and cut your paper to size. I have one continuous piece that will cover the inside left, bottom and up the right side in one piece. Then I cut two smaller pieces to cover the top and bottom sides. Run all the cut pieces through the Xyron Creative Station.

At his stage you can either glue the frame together before covering or do as i have and cover the pieces first, ensuring that I don't cover the joining tabs. I covered the top and bottom pieces, assembled the frame base and added the longer strip before I added the frame outer piece.

For the front frame I cut a piece slightly larger than the frame, ran it through the Xyron Creative Station and placed it over the frame before using a sharp craft knife to cut away the excess paper from the edges and the inside.
To cover the bare chipboard and blend the paper edge with the frame I inked around the edges on the inside and outside.

Next glue the frame to the box base to complete the shadow box.

To decorate the interior I took the 'A' from the Adore Banner and ran it through the Xyron Creative Station and placed it on the back of the box, then using foam pads for dimension I then arrange the rest of the elements inside the frame.
did you know that you can make your own foam pads using Xyron ?. Check out Beth Kingston here as she shows you how.


Thanks for stopping by my blog today, you
can also follow my official Facebook page. Check
out Xyron on Facebook too for amazing
craft inspirations every day.
Xyron product provided as part of the
Xyron Design Team


This is a pretty shadow box project! Love the papers you used and the color combo! Love the accents in gold!
ReplyDeleteWow - what a pretty shadow box! Love the papers and gold details!
ReplyDeletebeautiful work
ReplyDeletemaria.mendoza@ttu.edu
Oh my how pretty this
ReplyDeleteshadow box is and love
how you made it!
Carla from Utah
So pretty, you are talented.
ReplyDeleteWhat a fabulous idea. So pretty.
ReplyDelete