
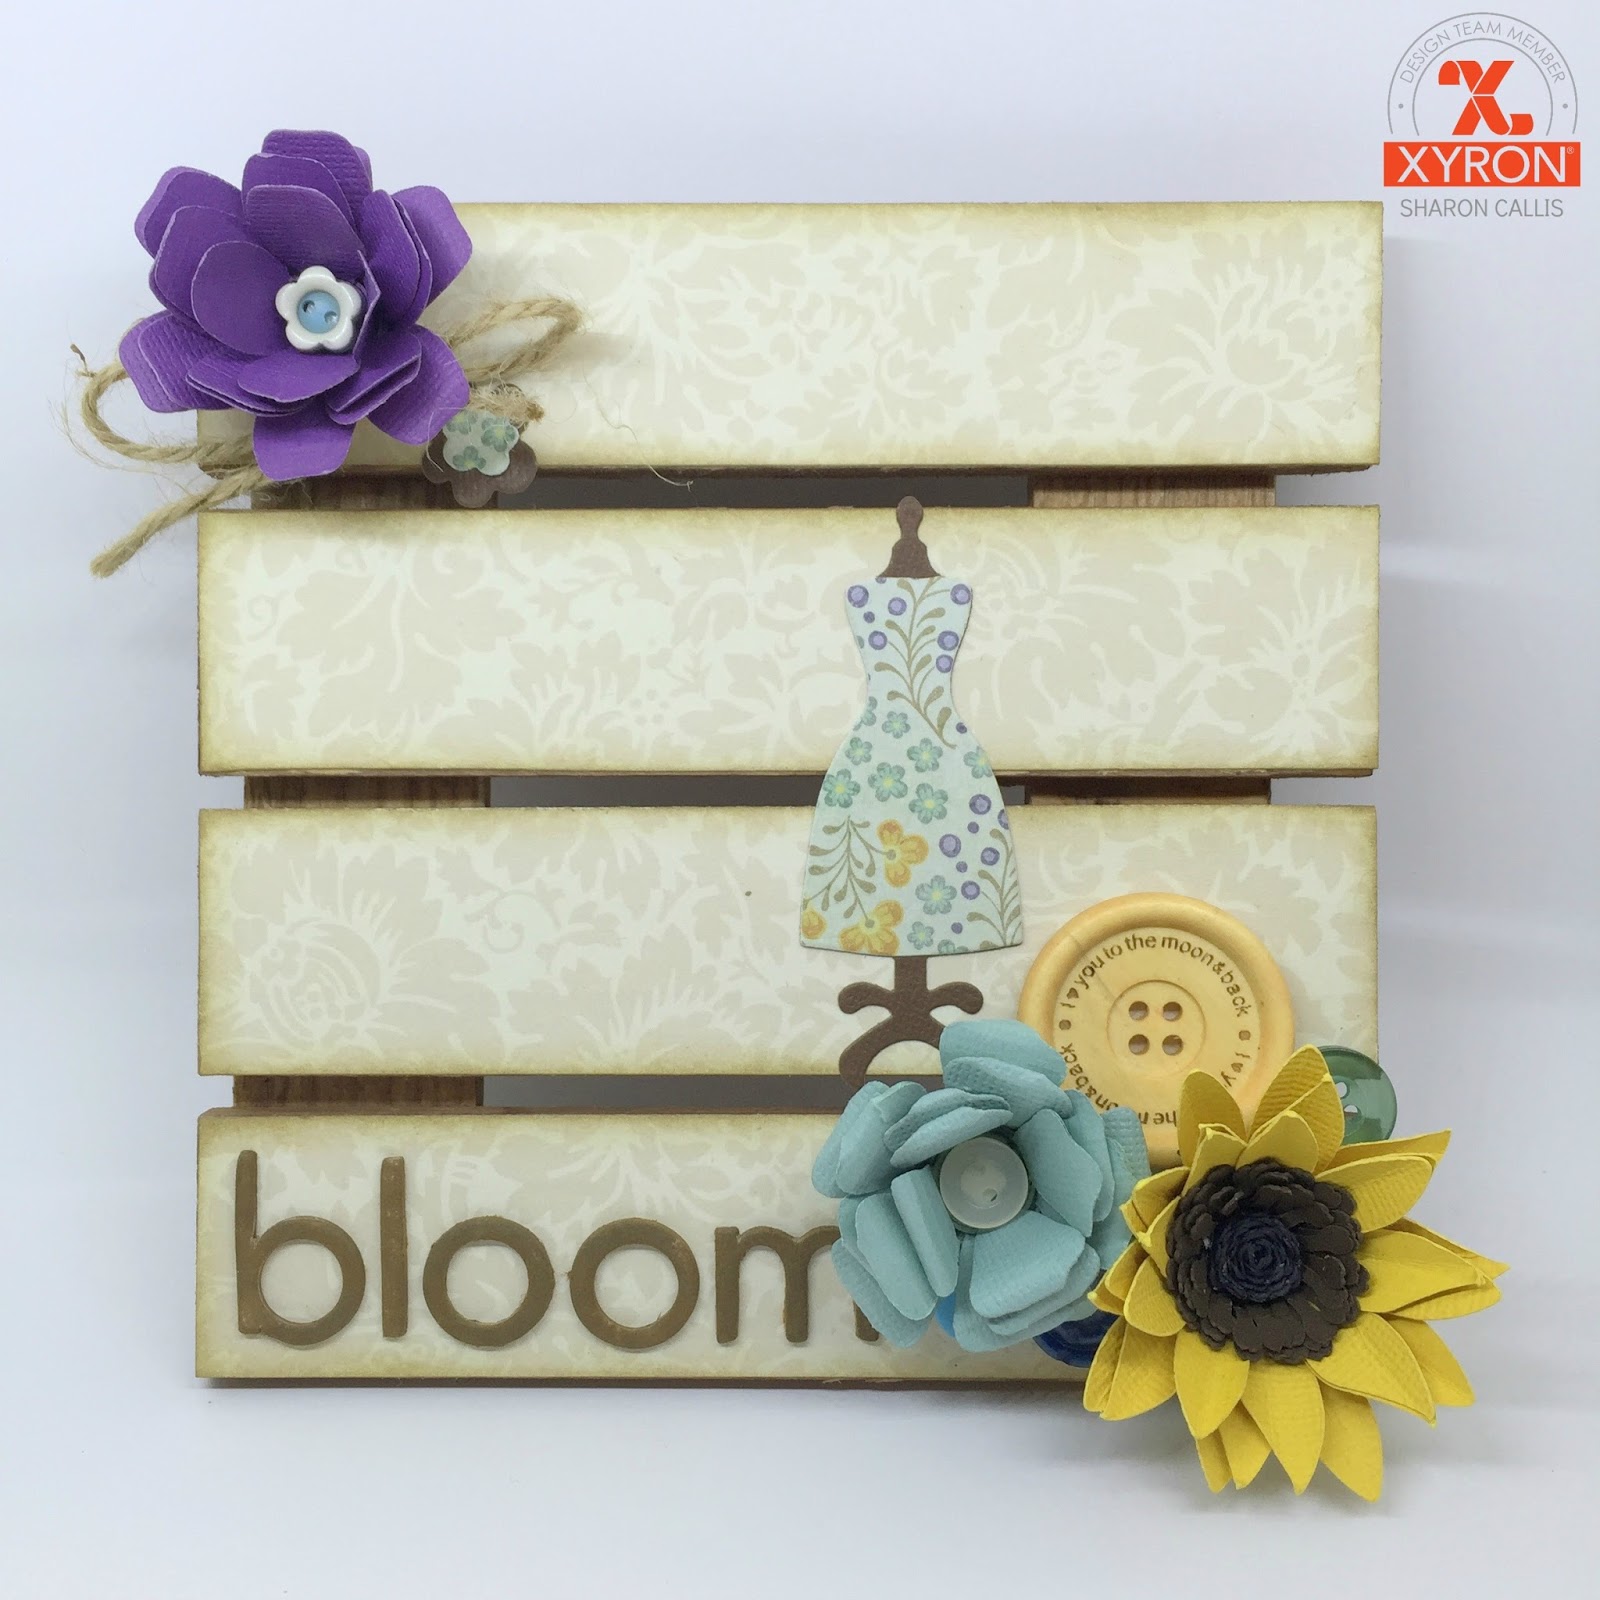
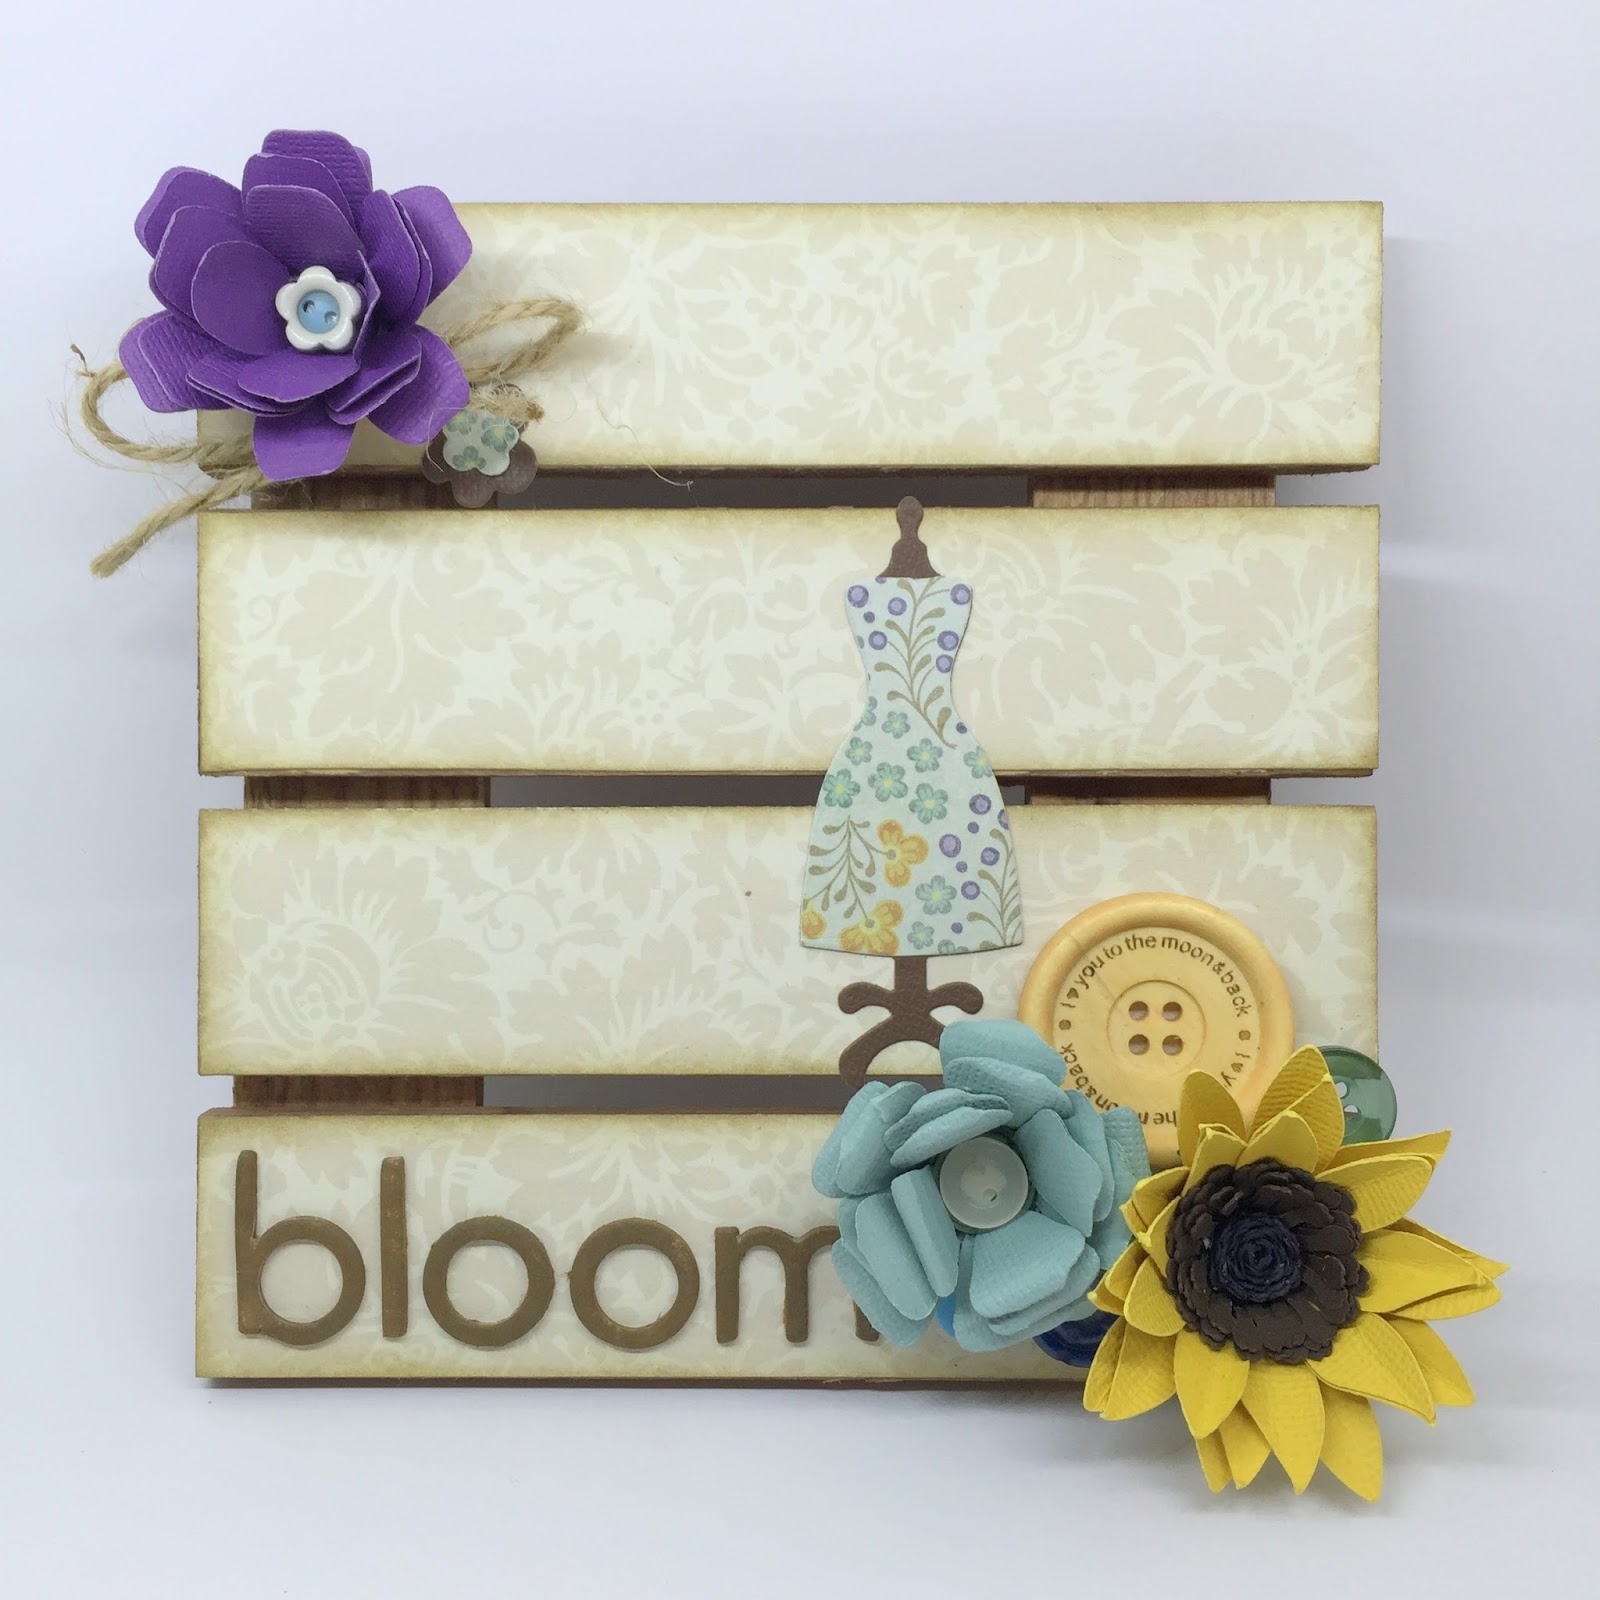
Bloom
Hey there, thanks for stopping by today. I have a cute little project to share and all this week on the blog I will have some more Xyron projects to share with you, at the end of this week everyone who comments here or on the Xyron FB posts for my projects will be in the draw to win a Xyron Adhesive pack worth $65 of a:
Don't forget to leave a comment on any of the posts this week and share with your friends
Good Luck
BLOOM
Supplies
Recollections 'The Sweetest Thing' Stack
Ranger Ink 'Frayed Burlap'
Prima Chalk Ink 'Teak Wall'

Assembly
Measure the four panels and cut four strip of paper to fit.

Run the strips through the Xyron Creative Station, ready to place on the wood panel.

Apply distress ink to the edges of the paper strips.

Using the Ranger ink and a brush stain the wooden pallet and allow to dry, should take around fifteen minutes but you can use a dryer to speed things up.

When fully dry apply the adhesive backed strips of paper to the front, keep an eye on the pattern on the paper so that they match up.

Using the dress form die cut once from a brown paper and again from a patterned paper. On the patterned paper trim away the 'feet' and top to leave only the dress portion. Run the Dress part through the Xyron 3" Sticker Maker and layer over the brown die cut .

Run the piece back trough the Xyron Sticker Maker and adhere to the panel.

Apply the chalk ink to the chipboard letters and then run them through the Xyron Sticker Maker and add to the panel.

To finish create some blooms using the Florartistry dies and add to the panel with the Large Button.
Thanks for stopping by my blog today, you can also follow my official Facebook page. Check out Xyron on Facebook too for amazing craft inspirations every day.
Xyron product provided as part of the Xyron Design Team


Fun project! Love Xyron products as well.
ReplyDeleteOh, I love the dress! The paper you chose looks great with the background. What a wonderful look all the way around. The tiny pallet is adorable.!!!
ReplyDeleteLove the flowers and dress form! This looks like a fun project to put together! Very cute on the wood pallet!
ReplyDeleteI love how you did this! That pallet is wonderful!
ReplyDeleteLove the project. thanks for sharing
ReplyDeletemaria.mendoza@ttu.edu
Fabulous way to cover
ReplyDeletethe panels. I have
used them for photo
holders. Looks lovely.
Carla from Utah
This is a fun idea.
ReplyDeleteLove, love this project. Definitely one I will try. Thanks for showing the process.
ReplyDelete