
Xyron Design Team Wedding Inspirations
This week the Xyron Design Team bring you some Wedding Inspirations. To view all the projects made visit Xyron Facebook and check them out.

I designed a wedding set that included a paper wedding cake! and some accessories. I will attempt to walk you through a tutorial on the Wedding Cake!


Products Used
Xyron 9" Creative Station (Permanent)
Xyron 5" Creative Station (Permanent, Laminate/Magnet,)
Xyron Mega Runner (1.5" Refill)
Crafters Companion Die'sire Dies (Sunflower (small), Rose (large and small),Blissful Flower.
Crafters Companion Centura Pearl A3 with a hint of gold
Crafters Companion Centura Pearl A3 with a hint of gold
Petaloo Leaves
Beading and ribbon from bridal shop
Pearl beads and gems mixed
Cake Board covered with Silhouette Vinyl.
(Cake Design by Sharon Callis)
Lets Make a Cake!
I made the basic cake structure using box card, cardboard tubes (recycled kitchen towel roll tubes)
To start you need to cut out the followingfrom the box card:

Cut out base pieces

Glue the strip around the base circle

Reinforce the centre of the cake with pillars made some cut pieces of cardboard tube, glue in an upright position and capped with a piece of card. Run the Xyron Glue Stick around the rim of the top circle and adhere to the top. Repeat this for all three 'cakes'.

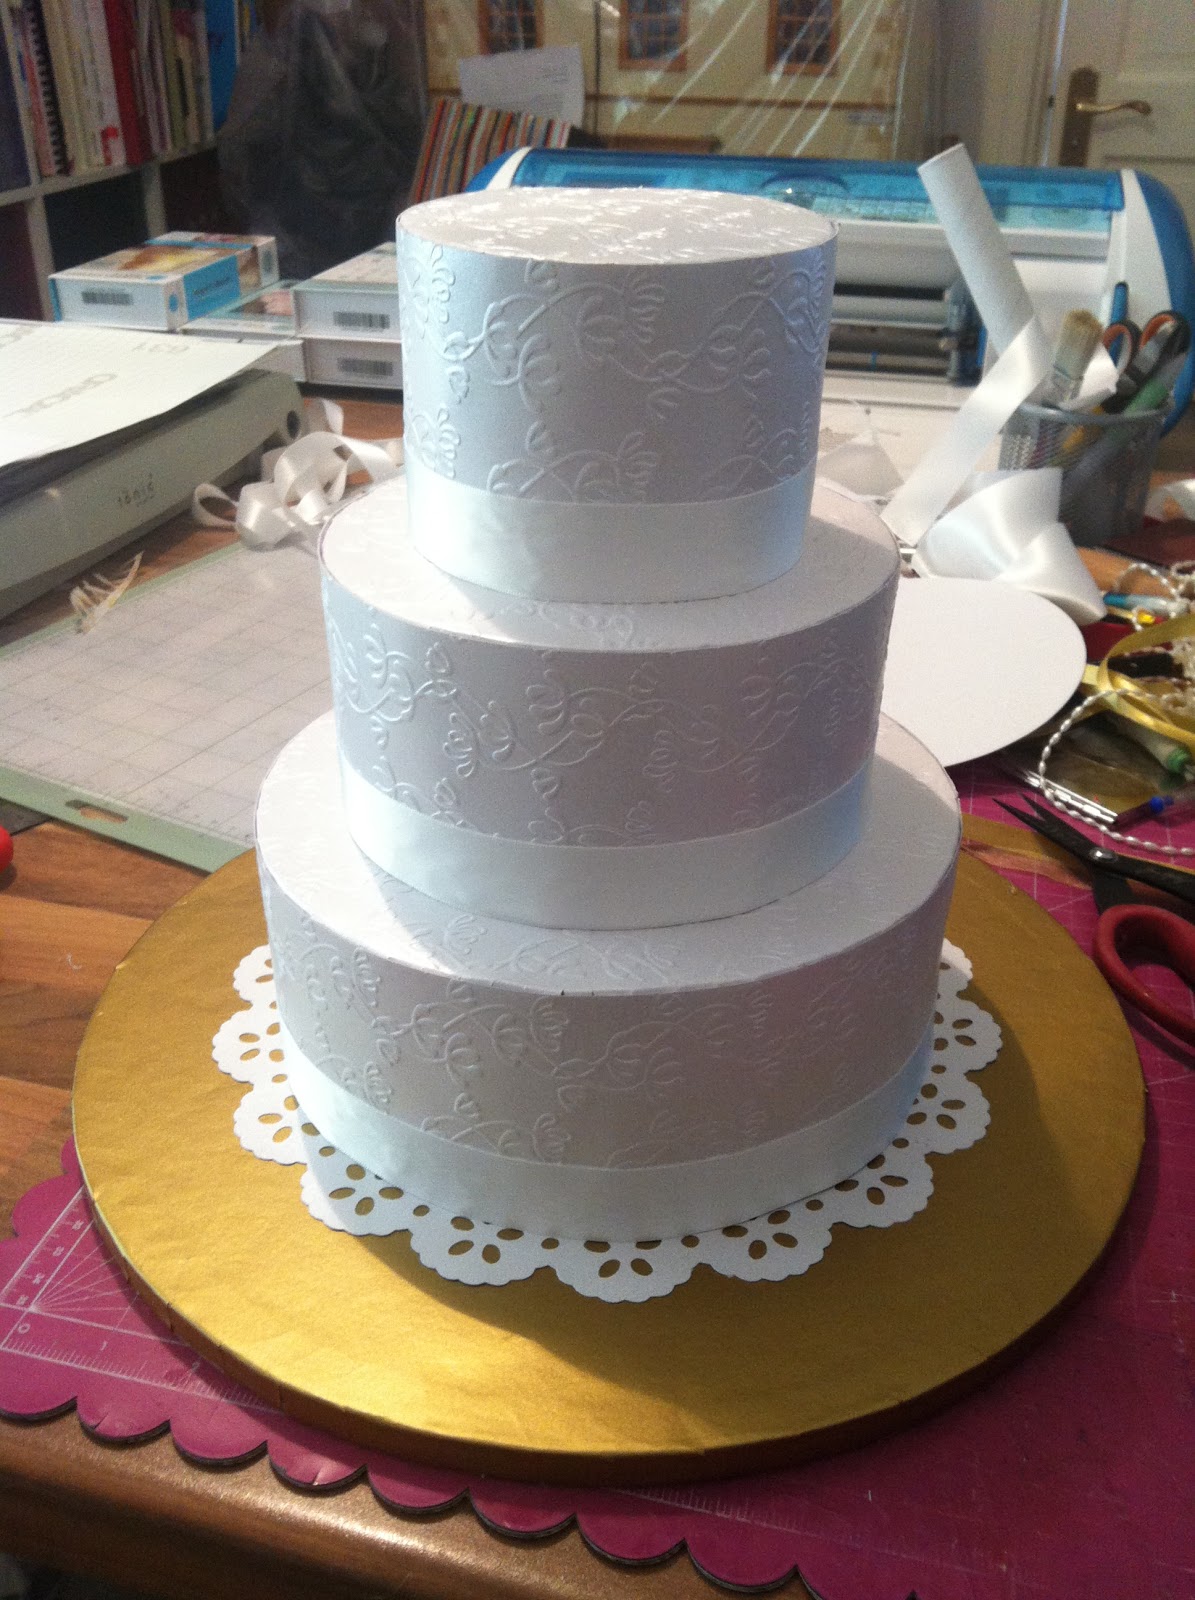
Three 'cake' tiers stacked, do not glue together until each is covered.

To decorate the cakes I used Crafters Companion Centura Pearl with a hint of Gold A3. I cut the side strip to the exact height of the cake and the circle pieces slightly larger than the top pieces so I could snip the edges all around and fold fown the sides of the cake before putting the outer band of card on. I ran the larger circles through the Xyron 9" Creative Station and the strips through the Xyron 5" Creative Station BEFORE I embossed them using the Crafters Companion Embossalicious Floral Vine A4 Folders

Stack the covered tiers and glue in place, maing sure they are centered.

Using the Crafters Companion Die'sire dies make various flowers from Centura Pearl, Velum with gold accents and White tissue paper, I used the Xyron Glue Stick while making them. In the centre of each flower I applied flatback and round pearls. For information and a video on using the Crafters Companion Quilling Flower dies click the Die'sire logo!.


I had a 12" cake board that I covered in Silhouette Gold Vinyl and a die cut daisy from the Cricut Cake Basics Cartridge.
To start decorating the cake I added three pre-measured and cut lenghts of white ribbon around the bottom of each tier using the Xyron Mega Runner
Repeat the process with thinner gold ribbon. The strings of pearls came from a bridal store and because they were heavy I glued every fifth pearl in place using a hot glue gun.


Start applying the flowers, taking the time to get the right spread out of large and small, heavy and light flowers. The lighter ones are held in place using the Xyron Glue stick and the heavier side ones with a hot glue.


For the finishing touch add some of the green Petaloo leaves.


I hope you enjoyed this tutorial and will come back again soon.
Sharon


stunning work Saron and a cracking tutorial - thankyou xx
ReplyDeleteThanks Rachel x
DeleteWOW!!Elegant and BEAUTIFUL! This is AMAZING!!TFS
ReplyDeleteHave a wonderful day,
Migdalia
♥ Crafting With Creative M ♥
♥ 2 Creative Chicks ♥
♥ Silhouette Challenges ♥
WOW these are really stunning hun, love the embossing and the pearls and the flowers look gorgeous
ReplyDeleteLindsay xx
I think this is just amazing, your idea is fabulous, thanks for sharing with us....so much hard work, how long did it take to make ? Well done!.....luv Ursula
ReplyDeleteHi Ursula
DeleteThanks so much, I worked on the cake over three days. Thanks for stopping by
The cake is just fabulous, very well done x
ReplyDeletevery gorgeous!
ReplyDelete