
Xyron Old to New Inspirations
Ok I know it's waaaaayy early to be thinking about Halloween !. Stick around and all will become clearer lol. This week the task of the Xyron Design Team is to take an old Xyron project and use it as inspiration to make something new!.


My project was an absolutely beyond cute Princess hat and yes I could have upgraded her to a Queen but I thought that it would be more fun to take her over to the dark side. I love the Princess Hat and if you would like to know how to create one of your own, click on the picture below and it will take you to the Xyron web site where you will find the instructions.
Princess Hat by Elizabeth Bracco used as Inspiration

Other ideas I had for the basic form was a cone shaped Christmas tree, a megaphone and a Tee Pee!. In the end I made a Witches hat centrepiece for my table. I am going to take you through the steps in creating this spooky home decor. The tutorial will be broken down into two sections, the first is the construction of the cone and the second is the decorating process.
Don't forget to check back on the Xyron Blog and Xyron Facebook for more inspirations from my fellow Design Team members today and all this week. OK here comes the good stuff!
Trick or Treat Witches Hat Centrepiece

Products Used
Xyron Mega Runner
Xyron 5" Creative Station
Xyron Glue Stick
Crafters Companion Die'sire Large Rose Die
Crafters Companion Spray and Sparkle Iridescent Glitter
Sillhouette Studio Cobwebs and Trick or Treat Designs
Black A1 Sheet of Card
Fiskars Paper Edger 'Seagull' Scissors
Bazzil Basics Grey Cardstock
K&Company Jen Yanok Halloween Papers
Purple, Green and Black Tuile Fabric
Black Lace Trim
Green and Orange Polka dot Ribbon
Crafttime Flat Back Buttons
Doodlebug Sugar Coating Glitter
How the basic hat is made !
Start by making the basic cone shape on the A1 black card. Cut a piece of card 22" by 19". Apply adhesive using the Xyron mega runner down one 19" side and roll into a cone and place to one side.

Cut out two circles 13" in diameter and mark the centre points with a pencil

Draw a line from top to bottom and from left to right through the centre of both

Draw a 7" circle in the centre of both circles

Cut out the centre of ONE of the circles

Take the ring and place it down over the cone. On the underside of the rind draw around with a pencil

Remove the ring and open up the cone, leave a 1" strip under the pencil line and trim away the excess. Cut slits into the 1" strip up to the pencil line. Apply more adhesive with the Xyron Glue Stick and form back into the cone shape

Turn up the tabs

Apply adhesive around the pencil outline on the base card

Adhere the cone to the base
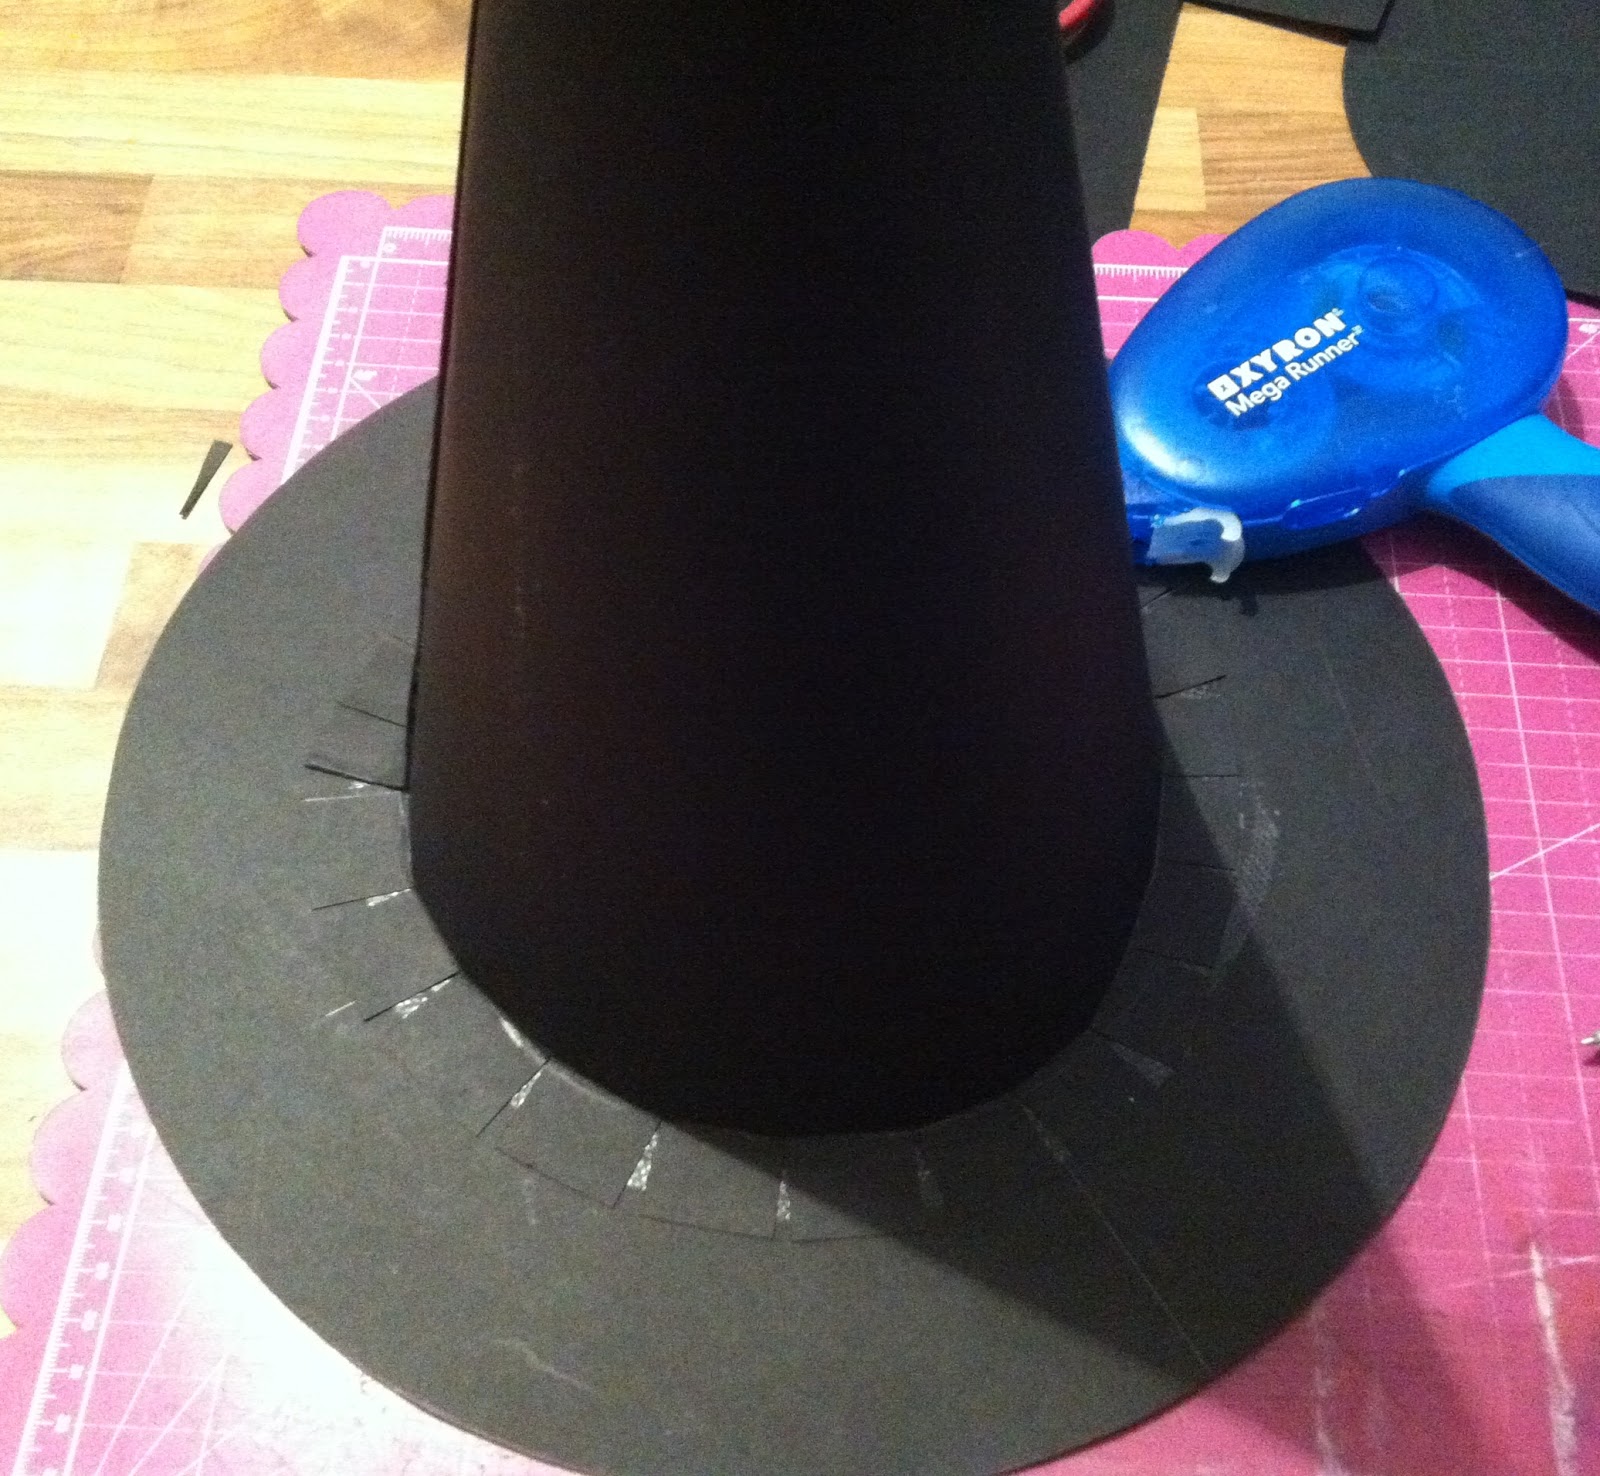
Secure in place by covering the base with more adhesive using the Xyron Mega Runner and the place the ring back over the cone and down onto the base.

Spray the finished hat with the Crafters Companion Spray and sparkle.

OK there we have the base for our Centrepiece. I made this hat rather large and did the cutting by hand but smaller ones can be done using an electronic cutting machine.
Right it's time to decorate!
How it's decorated!
Now for the fun part!. we can now decorate or centrepiece.
Pinch the top of the hat and flatten it down about four inches and curl over.

Apply adhesive to the rim with the Xyron Glue Stick and sprinkle with the glitter

cut two 12" x 3" strips of paper, trim with the Fiskars Scissors

Ink the top edges with the purple ink and then seal the ends together using the Xyron Mega Runner

Apply adhesive around the base of the cone with the Xyron Mega Runner

Drop on the band and press in place

Cut two strips of the green and purple tulle 1mtr long and scrunch together and knot around the band. Secure in place.

make a smaller black tulle bow and tie the orange polka dot ribbon around it. Secure in place.

I decided a little too late to add the black lace so I pleated it and then tucked it into the banding and secured in place.

Die cut the large cobweb and secure to the banding using the Xyron Mega Runner

Die cut the smaller cobwebs and run through the Xyron 5" Creative Station

Adhere the cobwebs to the cone of the hat

To make the feathers I hand cut two strips of black paper and cut the feathering down the edges and shaped them.

Secure to the tulle using the Xyron Glue Stick

Die Cut three Die'sire strips of rose petals, assemble together using the Xyron Mega Runner

Spray with the Spray and Sparkle

Die Cut the 'Trick or Treat' in orange and in black. Run the orange die cut through the Xyron 5" Creative Station.
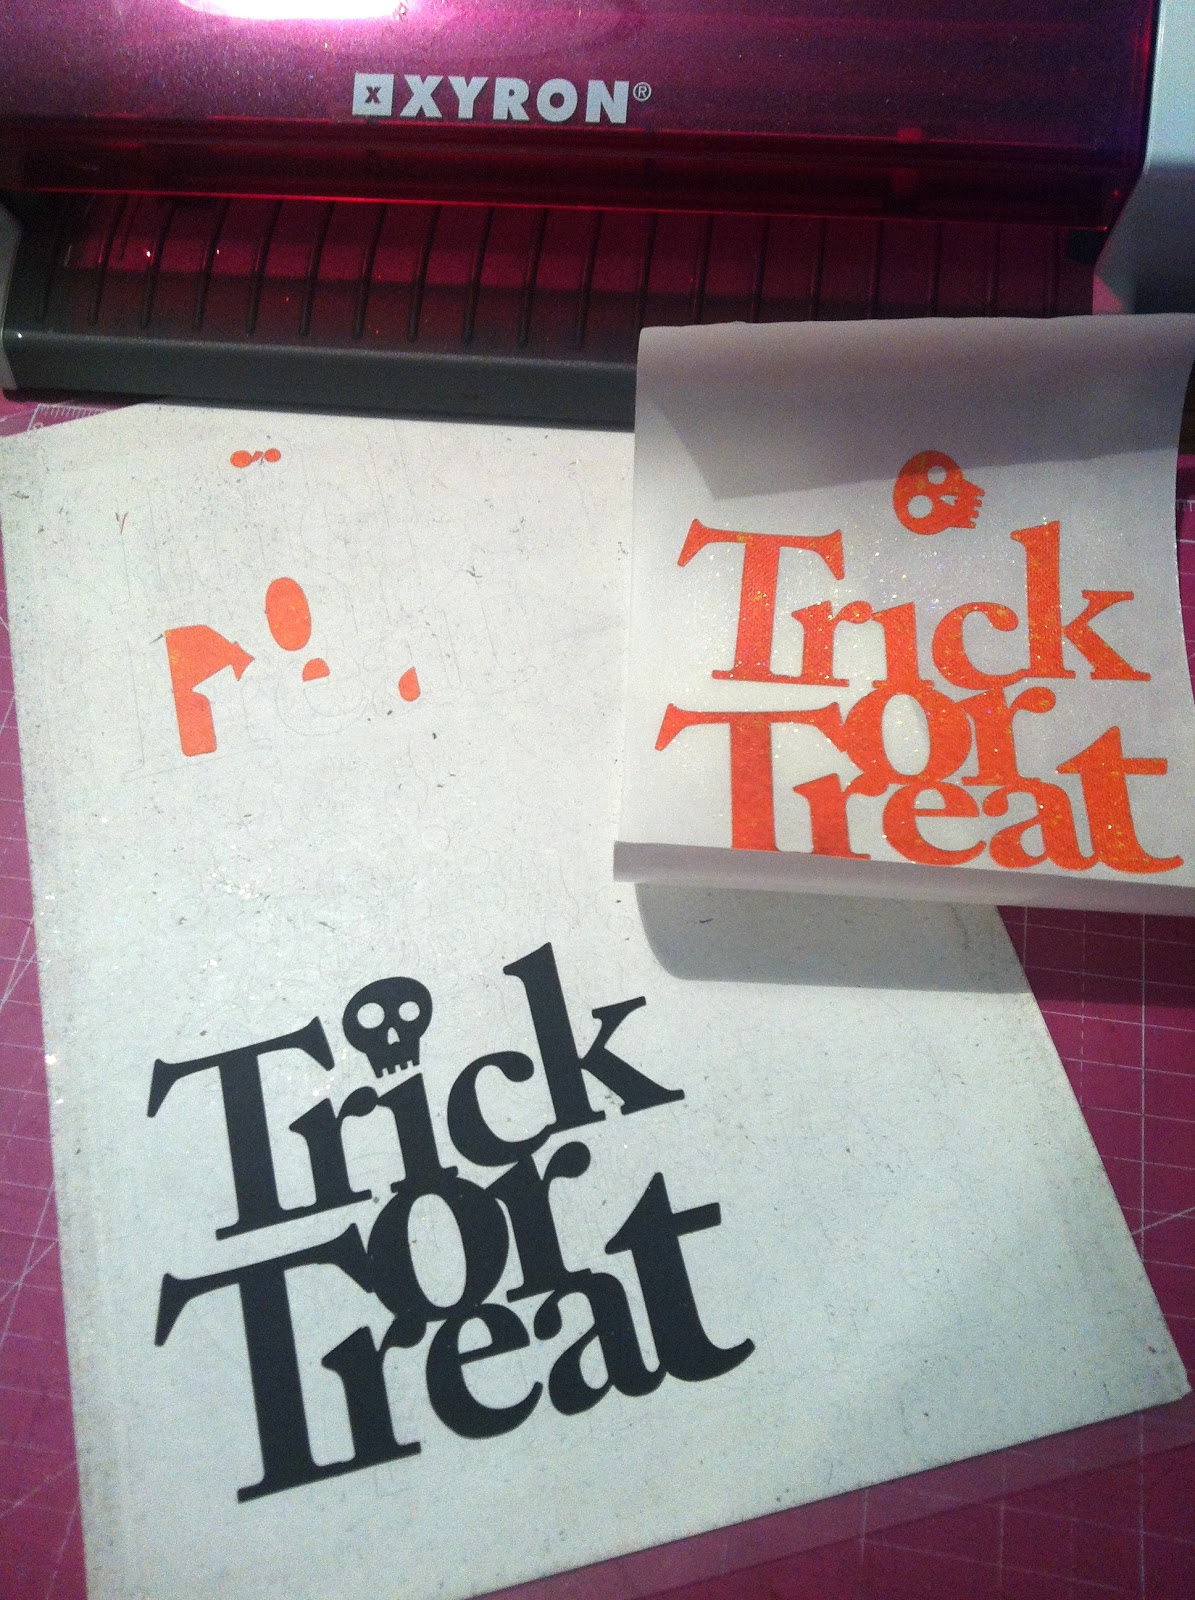
layer the orange on top of the black slightly to the right to create a shadow. Spray with Spray and Sparkle

Apply some adhesive to the centre of the die cut and adhere to the hat

Secure a green ribbon bow to the rear of the flower, place a gem in the centre and then secure to the middle of the black tulle bow.

And there you have it, one spooky Halloween centrepiece. thank you so much for stopping by and i hope you enjoyed my tutorial. check back with Xyron all this week for more projects and inspirations.

-0-


Oh WOW This is an amazing project Sharon and a fab tutorial too hun, thank you for sharing.
ReplyDeleteHugz from your newest follower, Lorraine xx
Just stunning!!! And I SO want a can of that spray and sparkle!!
ReplyDelete