
DT card for gel-a-tins (Honey Bear)
YOU'RE MY HONEY BEAR!
We all know that honey is sweet and that little bears are cute, but what do you get when you put them together? Apart from a little sticky mess of course!. Well gel-a-tins have put them together in a very special set of clear stamps called 'Honey Bear' that is adoreable. In the set you get a total of 12 clear stamps and of course the super metal storage tin. The sentiments included are 'Thank You', 'Love You', Beary Much', 'Miss You', You're My', 'Honey' and Bear. The image stamps consist of a Beehive, two Bee's, Butterfly, Honey Pot, Flowers and of course last but not least the adoreable Teddy Bear. I have used this set to create a card. I decided to stick with Yellow tones with a little splash of black for dimension. Below you will find a list of the products I have used and how I made this project. The buy this stamp set please visit http://gelatinstamps.com/product_info.php?products_id=5

PRODUCTS USED
gel-a-tins 'Honey Bear' clear stamp set
K&Co Contemporary Boxed Paper Collection (524460)
Xyron 5" Creative Station
Xyron 150 X
Xyron Mega Runner
Xyron 150 X
Xyron Mega Runner
Cricut Sentimentals Cartridge
Core'dinations Glitter Stack
Doodlebug Boutique Trims (Halloween Assortment)
Doodlebug 'Bumblebee' Rick Rack Ribbon
Doodlebug Flocked Brads
America Crafts Speciality Papers
Bee Flatback Buttons
StazOn Black Ink Pad
Whispers orange Ink Pad
docrafts Papermania Capsule Collection 'Lemon Sorbet' Flowers
HOW IT'S MADE
- Cut out the beehive base using the Cricut Sentimental cartridge
- Cut out the glitter filigree beehive pattern and layer it on top of the beehive base. I used the Xyron to apply adhesive to the filigree pattern this made sure all parts were properly glued.

- For the base layer of the card I again used the Cricut Sentimentals cartridge to cut out a beehive base from the middle of a piece of paper that matches the base of the beehive only slightly bigger.
- Rub the edges with the Whispers Orange ink pad.
- Layer the page on to a sheet of orange American Crafts paper.
- On top of this place your beehive using foam pads so that it stands out.

- Using the black and gold American Crafts Speciality Papers matt and layer to create a faux frame effect.
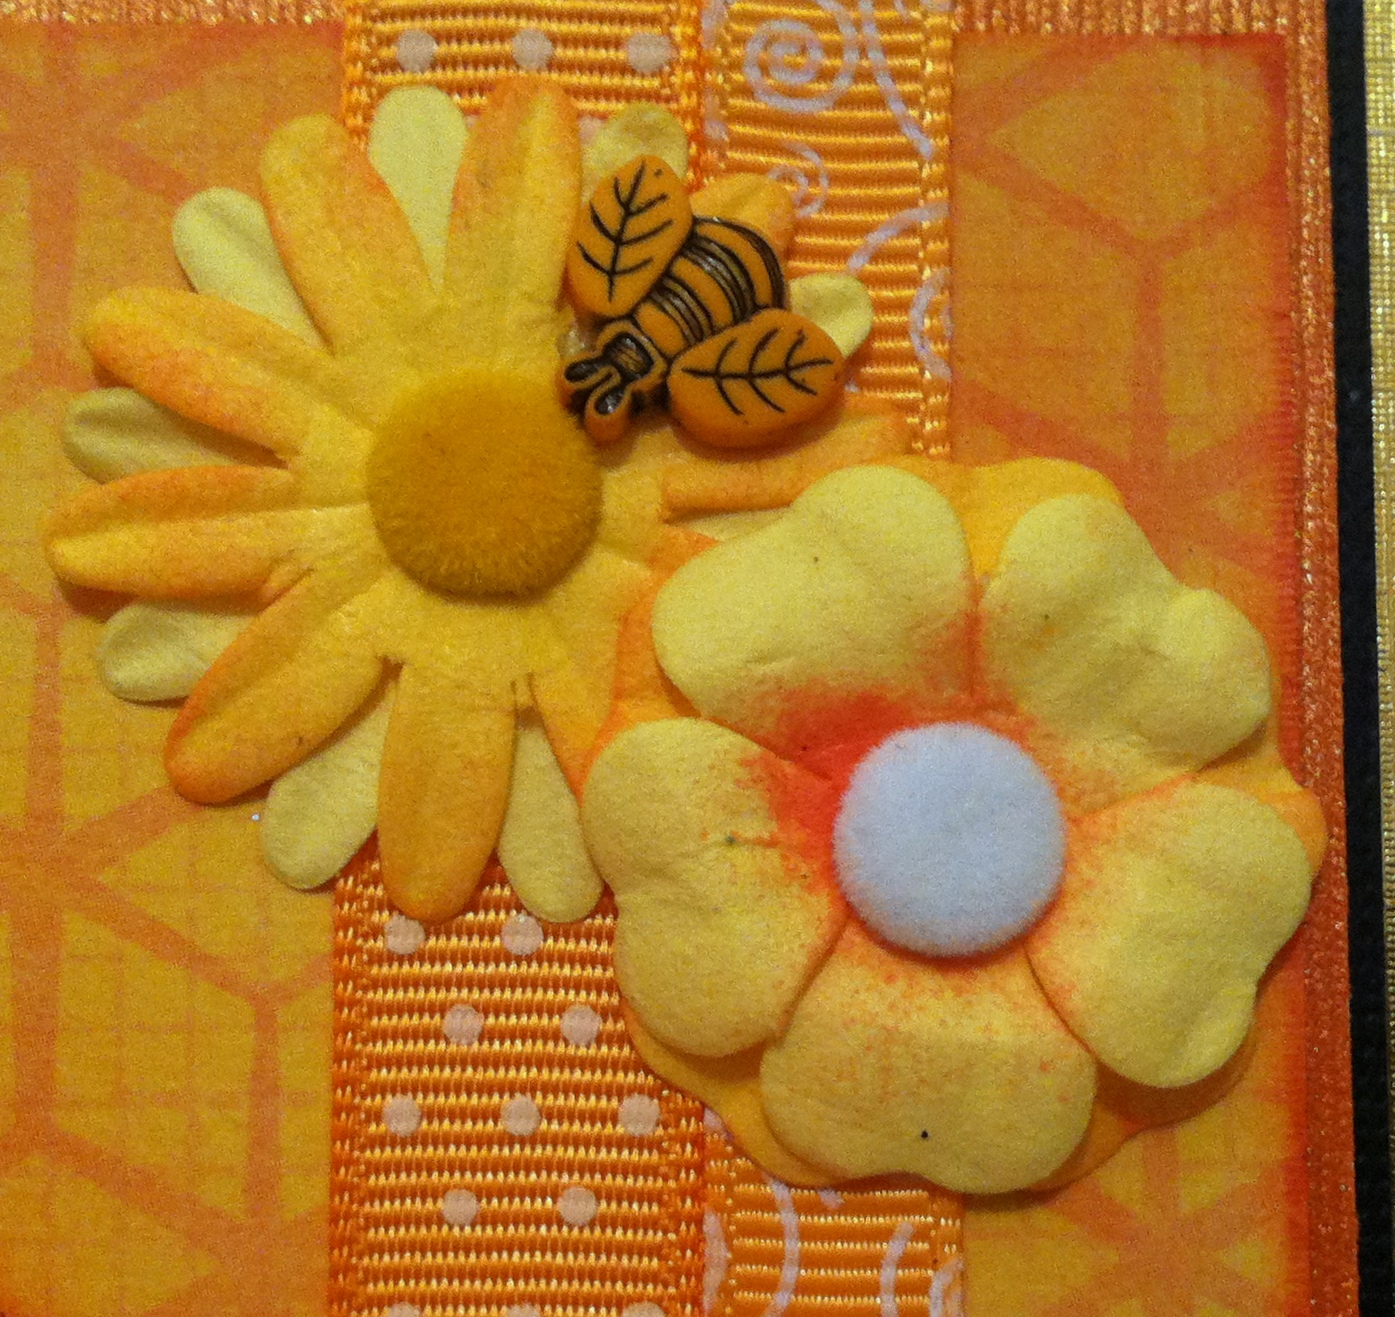
- Apply the ribbons to the base and down the right hand side.
- Add the flat back bee buttons to the front of the beehive.

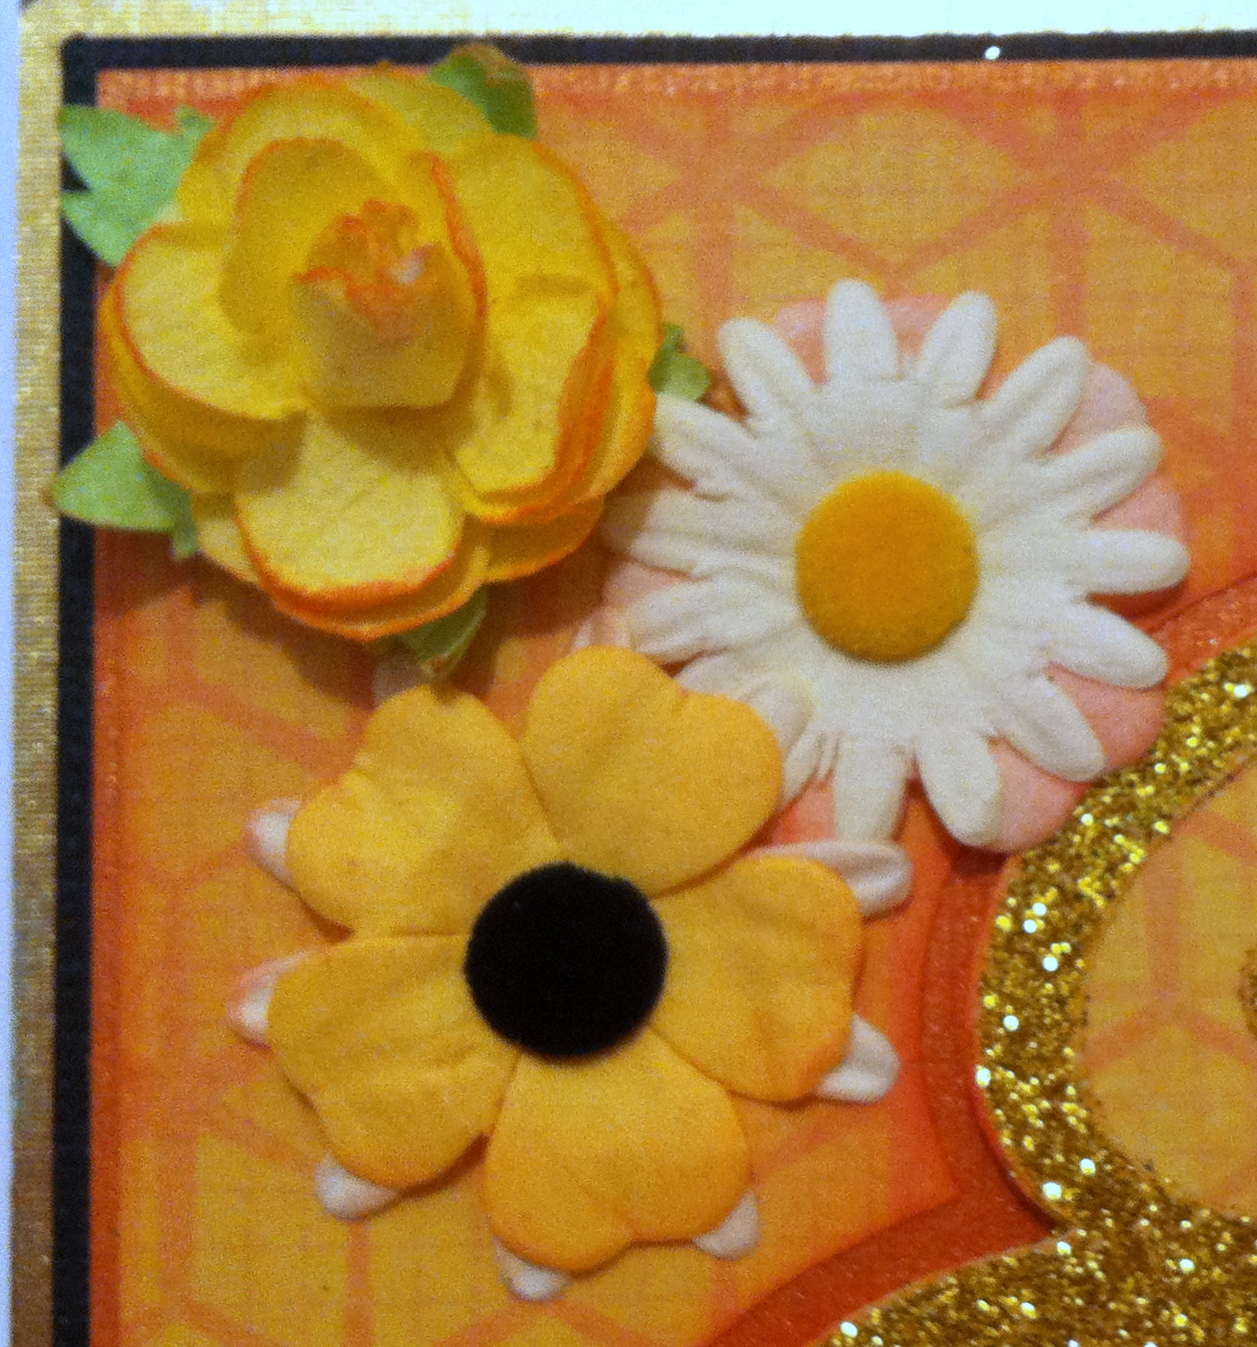
- Assemble your flowers and hold together with the brads.
- Rub the edges with the Whisper orange ink pad and group together on the card.
- Stamp the Sentiment, Bear and Honey Pot with the black StazOn ink and cut out.
- Trim the senntiment with gold glitter
- Cut the bears arms so he can hug the sentiment and glue together.

- Stick to the card with foam pads

- This is how it looks from the side.

So there you have it, I hope you have as much fun with this little bear as I have.
Sharon


Fab card and super tutorial Sharon! Good to see you again! Hugs Rachel xx
ReplyDeleteWOW this is fabulous! I am so loving the little bear. The beehive is amazing and loving the little bees and flowers.
ReplyDeleteHugs
Linda xxx
Fabulous and Fun!!!I love it!!!
ReplyDeleteCute little guy - and card!
ReplyDelete