Xyron with Tim Holtz & Ranger
You guys know how excited I get when we Xyron Teamies get to partner with amazing craft companies, well multiply that by 10,000,000 and you wouldn't even be close to how excited I was to recieve my amazing package of Tim Holtz craft goodies which included stencils, stamps, inks, distress crayons, metal embellishments and best of all Fabrics!!!.
There are so many projects I want to make but have narrowed it down to two for this post, I will have more to share over the next few weeks.
There are so many projects I want to make but have narrowed it down to two for this post, I will have more to share over the next few weeks.
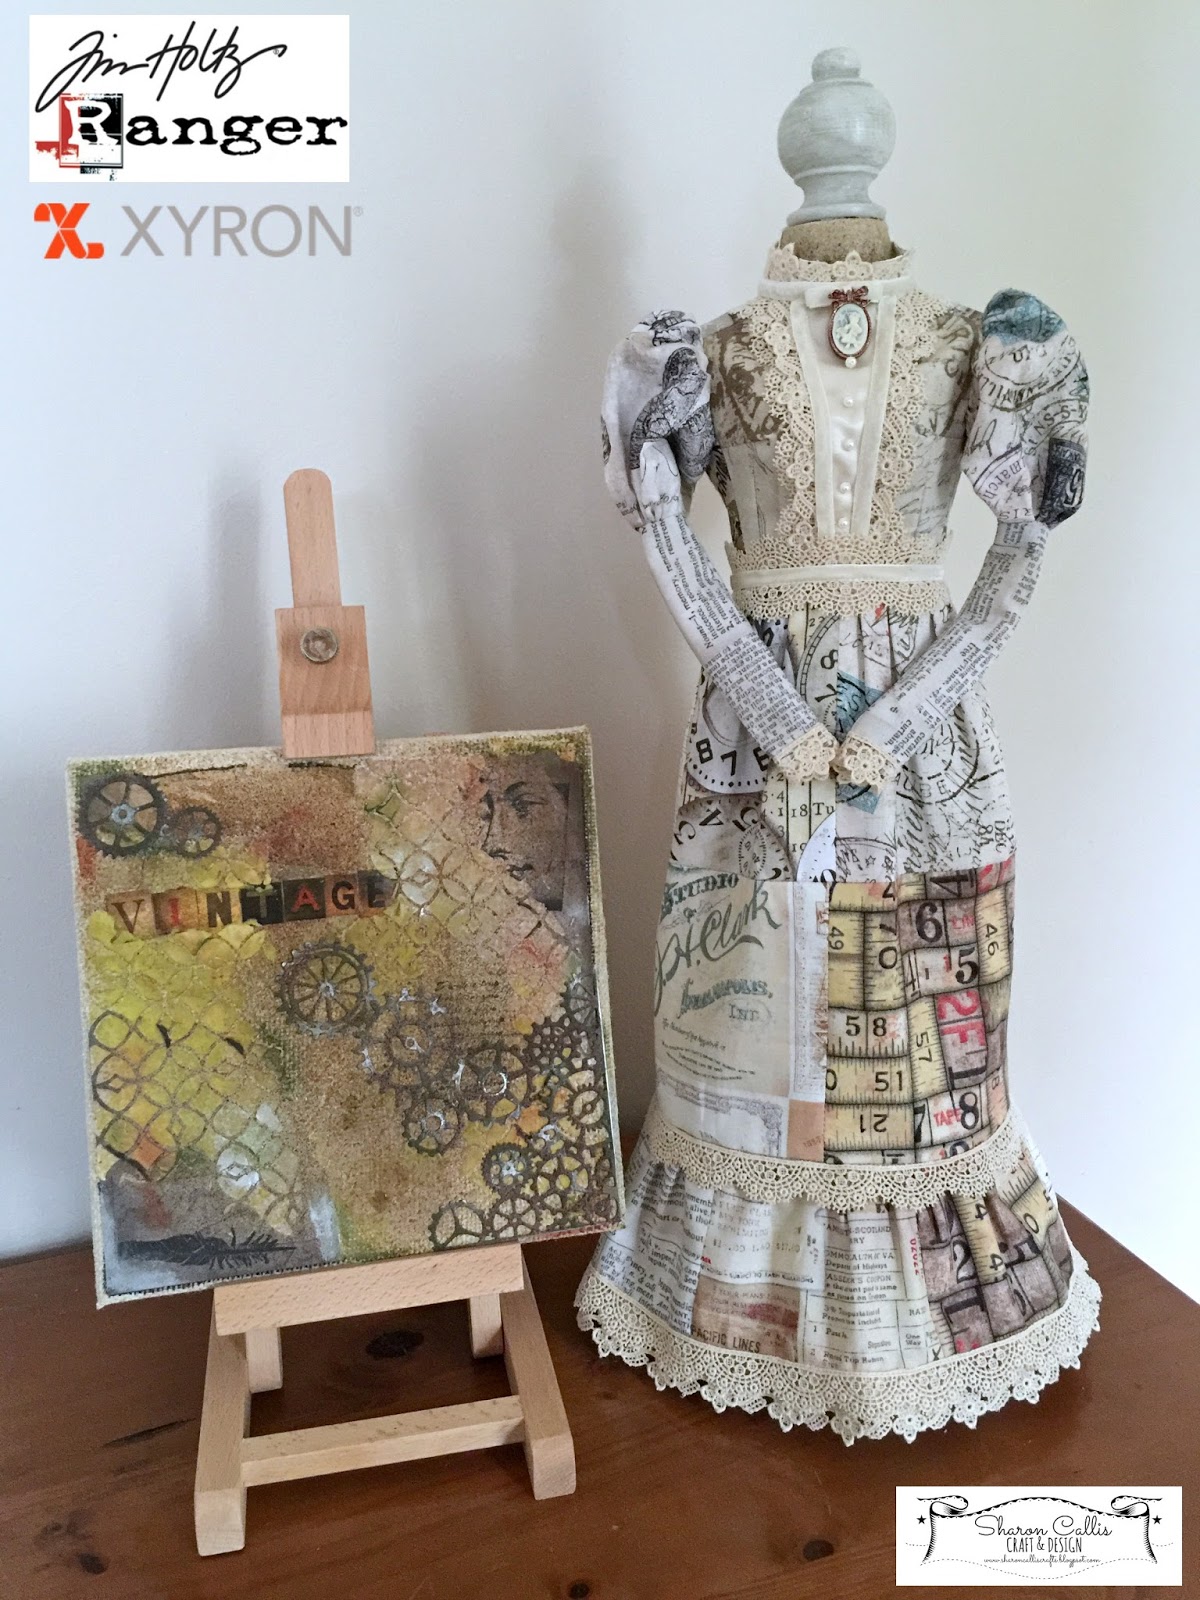
My projects are an 8x8 mixed media canvas and a Victorian inspired patchwork dress on an 18" high dress form. More details and mini pictorial walk through below.
 |
| Click Here |
 |
| Click Here |
 |
| Click Here |
8x8 Mixed Media Canvas
Supplies
Faber Castell Whipped Spackle
Instructions
I used the Xyron Mega Runner to secure the burlap around the 8x8 canvas.
I added some spots of the spackle to the top of the burlap and then tore some of the Tim Holtz paper, ran them through the Xyron Creative Station and placed on the burlap.
Using the stamps and black in add the stamped images to the papers before placing the stencil on top and adding some of the whipped spackle. Allow the spackle to dry .
Give the canvas a light spritz of the 'Vintage Photo' then using the green distress crayon rub a little over the spackle and on the edges of the canvas.
Die cut the gears and 'weather' them using the stain and pewter before adding them and the lettering to the canvas.
-o0o-
Victorian Dress
Supplies
Tim Holtz Eclectic Elements Foundations 5" Charm Pack
Ribbons, lace etc. from my stash
18" Dress form (Upcycled home decor piece)
Instructions
You will see from the images below that is dress was made without a pattern and I basically pieced it together as I went along, so bear with me and hopefully you will catch my drift!
If you would like to have the basic knowledge of dressmaking principles for making gathers, sleeves, darts etc then Youtube is a great resource or you can click here.
Starting with the skirt I used two rows of four squares and stitched them together, I joined together at the ends but only sewed half way down leaving and opening at the waistband. Using a running stich then gathered the fabric around the waist.
For the bottom of the skirt stitch six 5" pieces together, turn a hem and stich the lace in place, as with the top of the skirt use a running stitch and gather the piece until it fits around the bottom and stich together.
For the top of the dress I took one square, added a 'v' of ivory ribbon and trimmed the edges with more lace (Later I added a second layer of lace because I thought it gave more depth)
I followed the basic dress making principles of adding 'darts' to the front to form the bust and because the 5" piece was a little short I added shoulder panels and then the back pieces before joining together under the arms.
- Because I am making a ruffled sleeve I needed plenty of fabric to gather so I joined two 5" pieces together and cut out the curve before using a running stich from the start of the curve to the end of the curve and pulled to make the gathered shoulder.
- The bottom half of the sleeve is a basic rectangular piece that is cut to the required length. Gather the end of the top of the sleeve before sewing it to the short side of the sleeve bottom. close the sleeve along the seam and add it to the bodice of the dress.
- Join the bodice and the skirt together and add a lace waistband, add the ribbon and using beads make faux buttons.
- The cameo is actually and earring that I have re-purposed. To finish add popper or velcro to close, you can of course just stich in place if preferred.
You will notice I then went back and added more lace etc, I might make an apron also for the front this week, if I do I will update this post.
Thanks
for stopping by my blog today, you can also follow my official Facebook page. Check out Xyron on Facebook too for amazing craft inspirations every day.
All products provided as part of the Xyron Design Team


This is ingenious! Great dress sewing that turned out stunningly!!
ReplyDelete